This is a family build, and the goal is show car quality. The car had rust damage in its sheet metal, including the trunk floor, and every component had to come off so the body could be repaired and refinished properly. My part was all of the metalwork, bodywork and paint, and I helped rebuild the engine and differential.
Case study 02 of 04
1970 Chevrolet Camaro Z28 RS
A ground-up restoration of my family's Camaro. I stripped the car completely, sandblasted the body and chassis to bare metal, and did all of the metalwork, bodywork and paint myself.
- Role
- All metalwork, bodywork and paint; helped rebuild the engine and differential
- Timeline
- 2020 to present, in sessions at my family's shop in Florida
- Hours
- About 500
- Key processes
- Sandblasting, oxyacetylene welding, patch panels, epoxy and high-build primer, block sanding, base coat and clear coat
- Tools
- Oxyacetylene torch, frame bench, sandblaster, spray booth
- Paint
- Hunter Green, base coat and clear coat
- Status
- Running; body in primer, final paint next

01
Starting point
02
Constraints
- Distance. The car is at my family's shop in Florida and I live in Newfoundland, so all of the work happens in sessions when I am there.
- Rebuild, not replace. Every part is rebuilt rather than replaced, down to the bolts.
- Thin sheet steel. The body panels are thin, so heat control while welding decides how much distortion has to be fixed afterwards.
- Standard. Show car quality means every panel has to be straight before colour goes on.
03
Process
The work happened over many trips, so the steps below are grouped by type of work rather than strict date order.
-
Step 1
Teardown and sandblasting
I removed every component and sandblasted the body and chassis to bare metal. Blasting takes off paint, filler and rust down to clean steel, so every repair and every flaw is visible before any primer goes on.
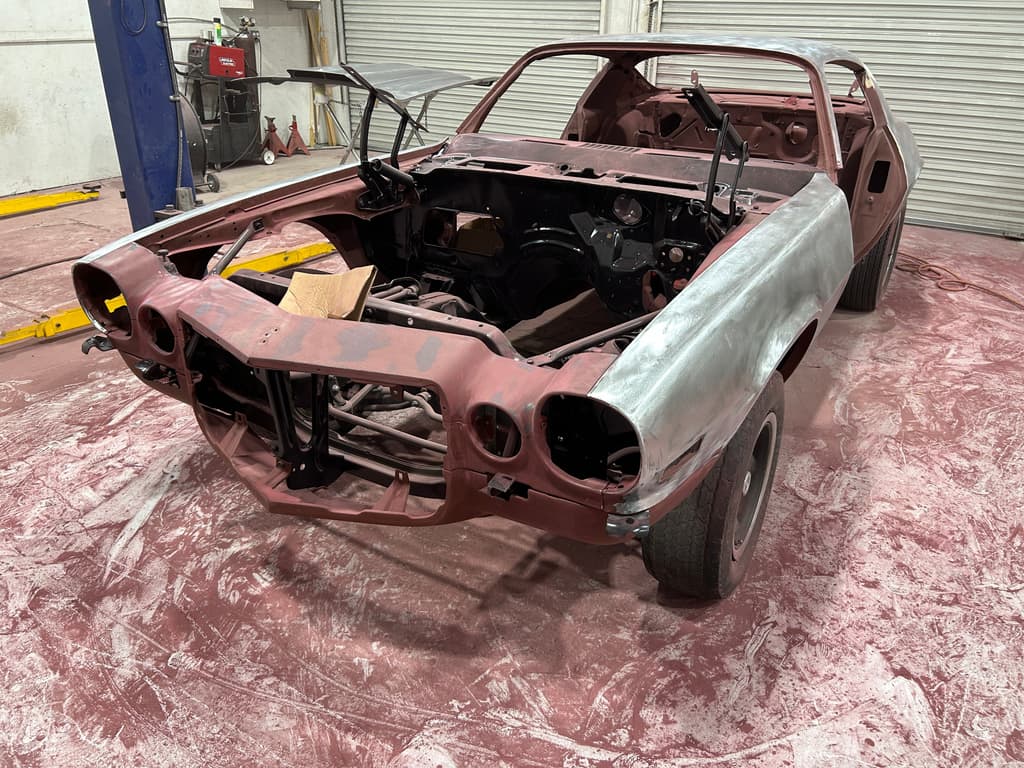
FIG. 02Front of the shell in bare metal, engine bay empty 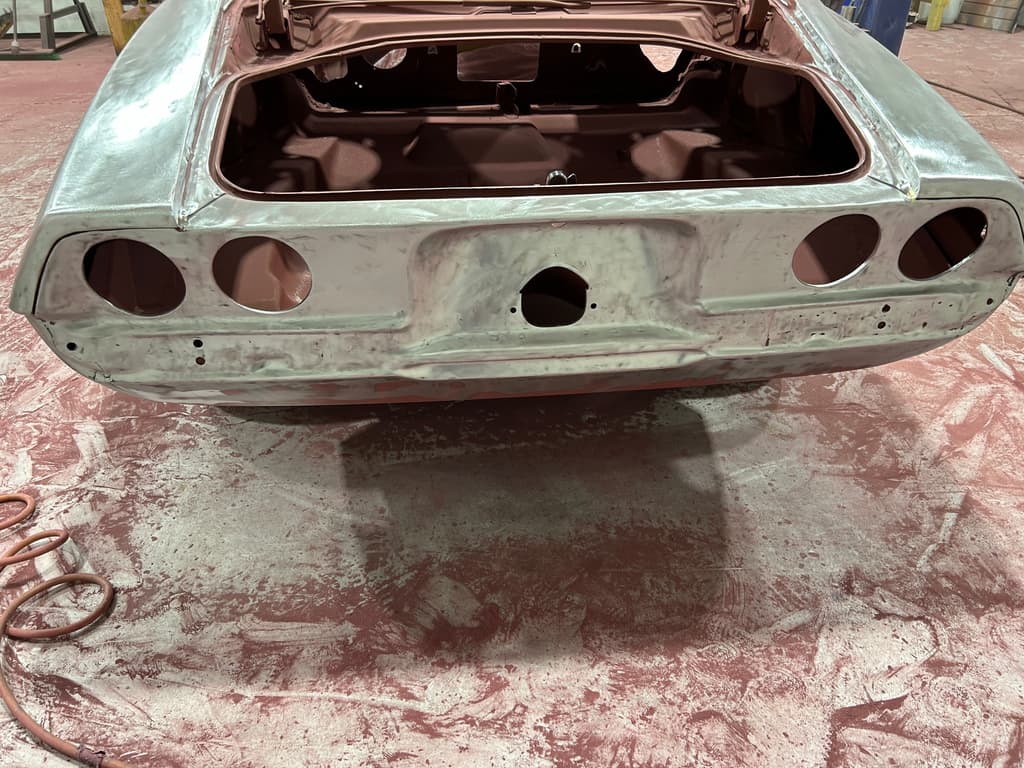
FIG. 03Rear panel in bare metal, tail light openings empty -
Step 2
Rust repair and structure
I gas welded the trunk floor (FIG. 04). For the floor repairs, the body was braced and mounted on a frame bench so it would hold its shape while the floors were cut out. All of the welding at that stage was mine (FIG. 05). I also welded patch panels into the other rust-damaged spots on the body.
I welded the thin sheet with oxyacetylene. A gas weld stays soft enough to hammer and dolly afterwards, which helps get the repair flush with the panel around it. The cost is heat: the torch heats a wide area, and thin sheet steel warps easily. Controlling that heat in thin sheet was the hardest problem on the car.
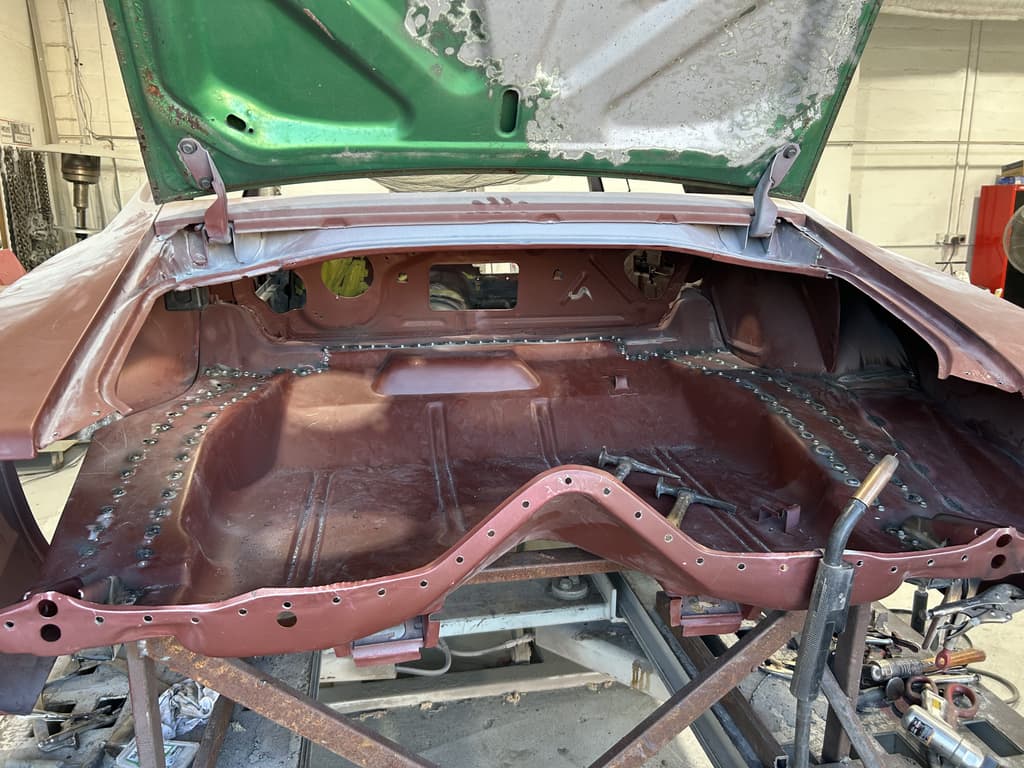
FIG. 04Trunk floor after gas welding, December 2022 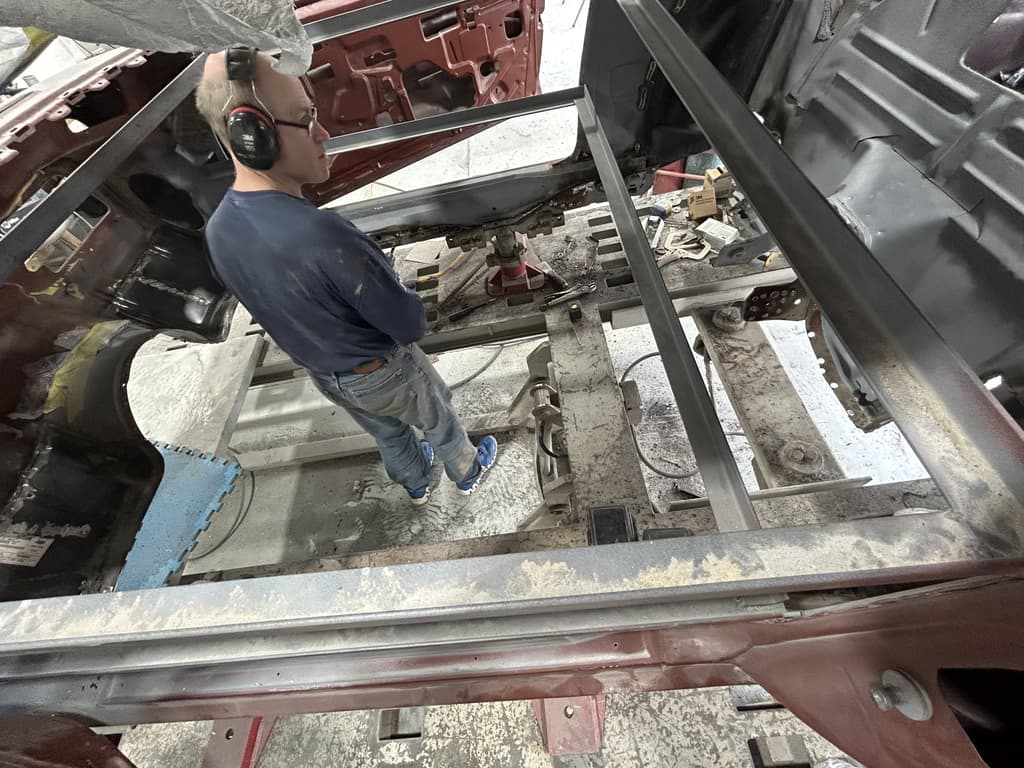
FIG. 05Body braced on the frame bench with the floors out -
Step 3
Two hoods
The car has two hoods. The cowl induction hood will be installed, and the flat hood will be painted with stripes to match. FIG. 06 shows the flat hood partway through stripping, with old primer, filler and bare steel all visible.
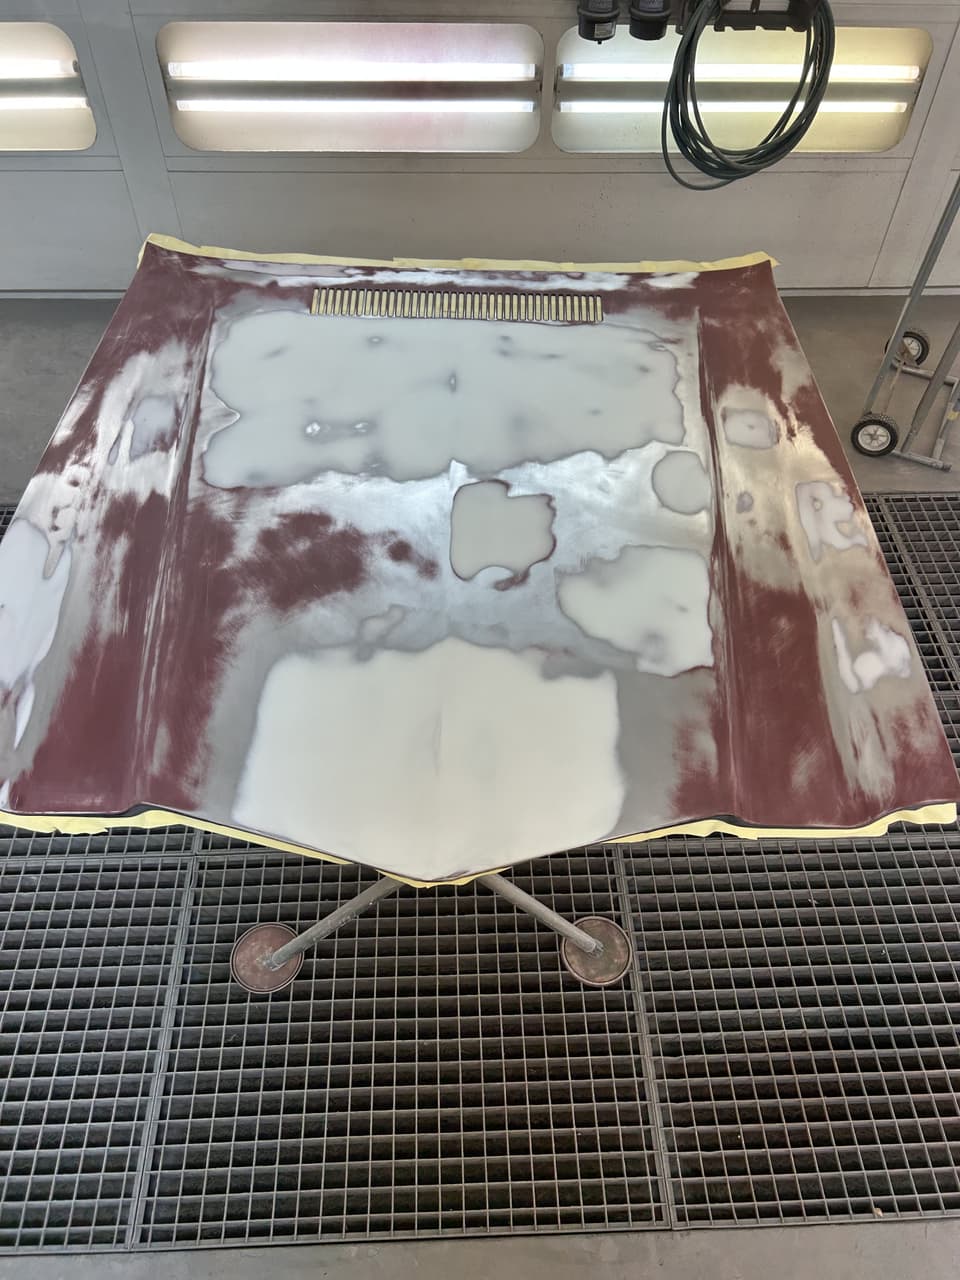
FIG. 06Flat hood partway through stripping, December 2022 The comparison below is the cowl induction hood, photographed from the front on its stand in bare metal and again after epoxy primer.
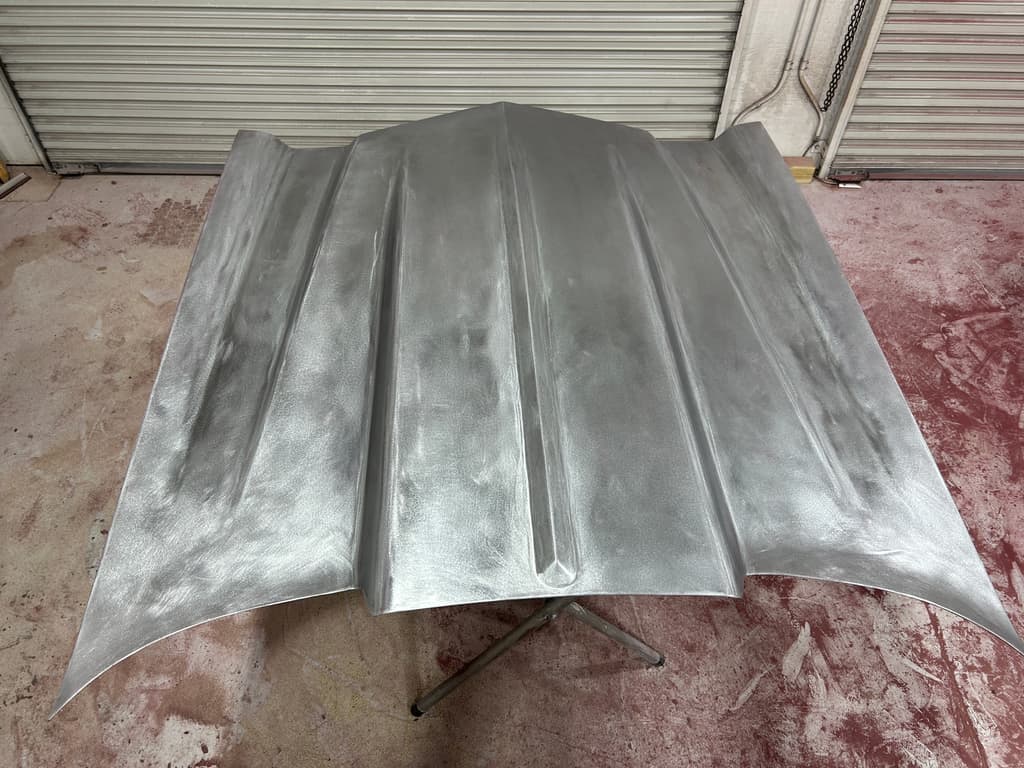
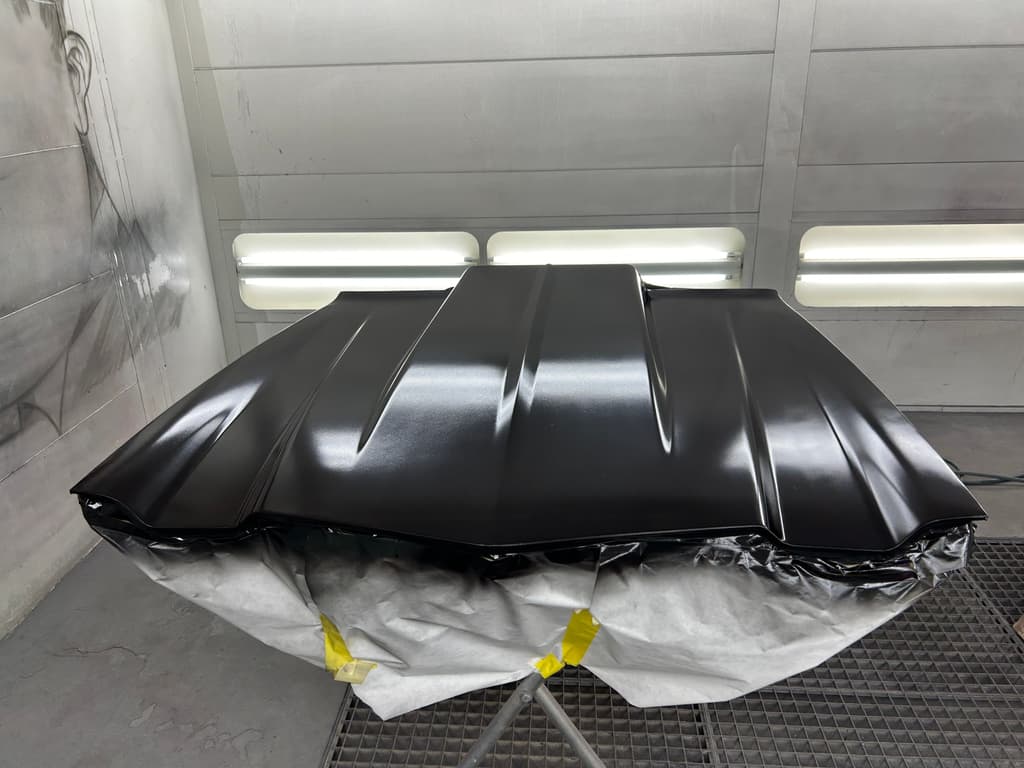
FIG. 07Cowl induction hood: bare metal and epoxy primer, December 2023. Drag the divider or use the arrow keys. -
Step 4
Primer and block sanding
Bare steel starts to rust quickly, so the first coat over it is epoxy primer, which seals the metal. Over that went grey high-build primer, which I block sanded to get the panels straight.
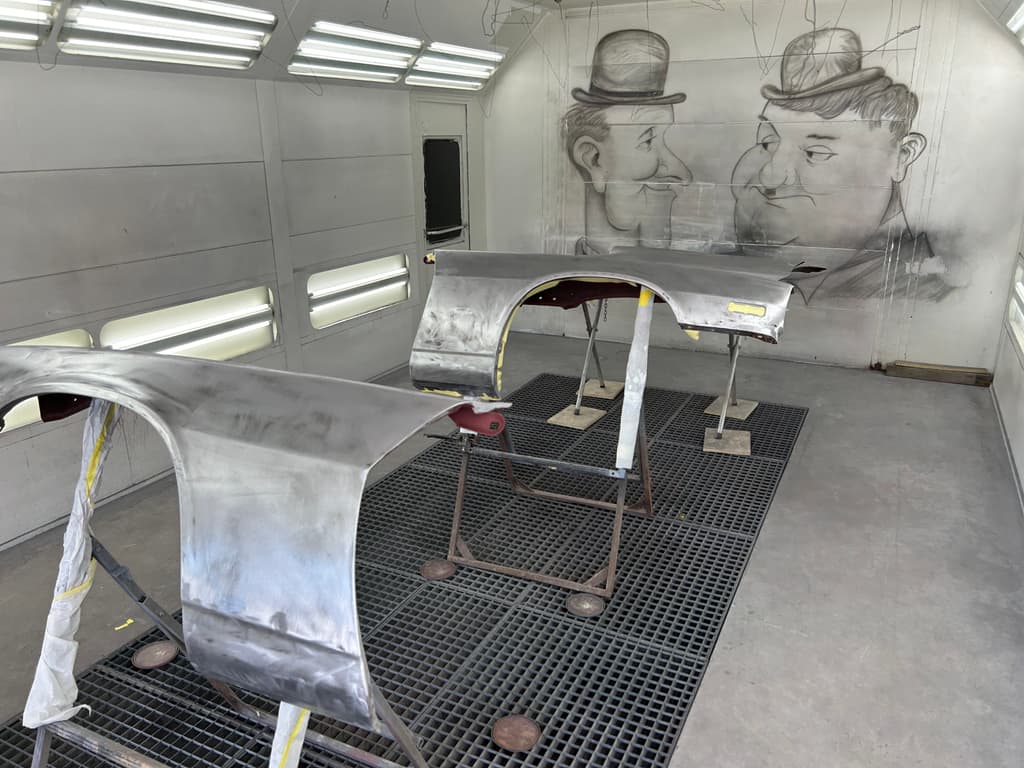
FIG. 08Fenders in bare metal, ready for primer 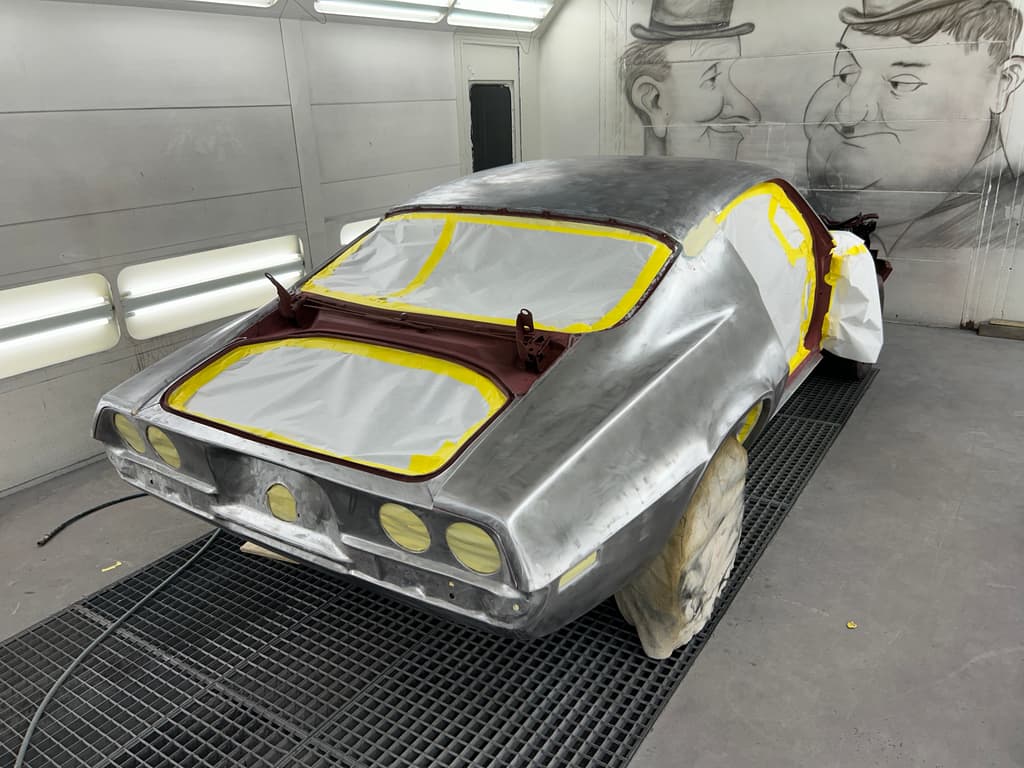
FIG. 09Body masked in the booth before epoxy primer 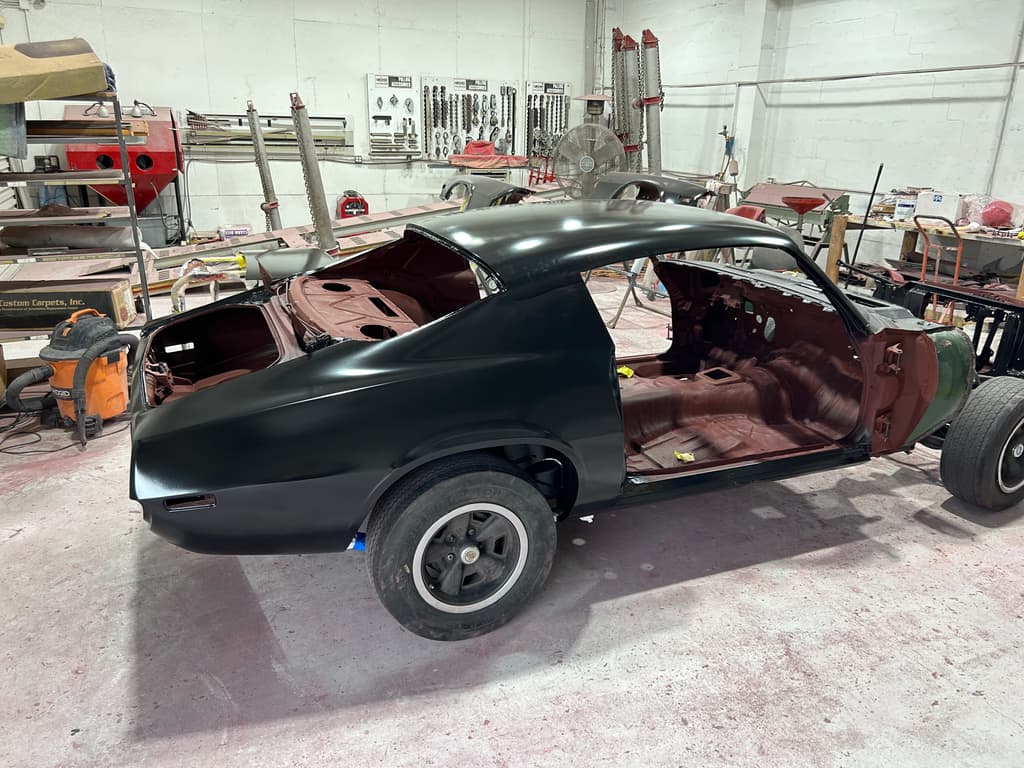
FIG. 10Body sealed in black epoxy primer 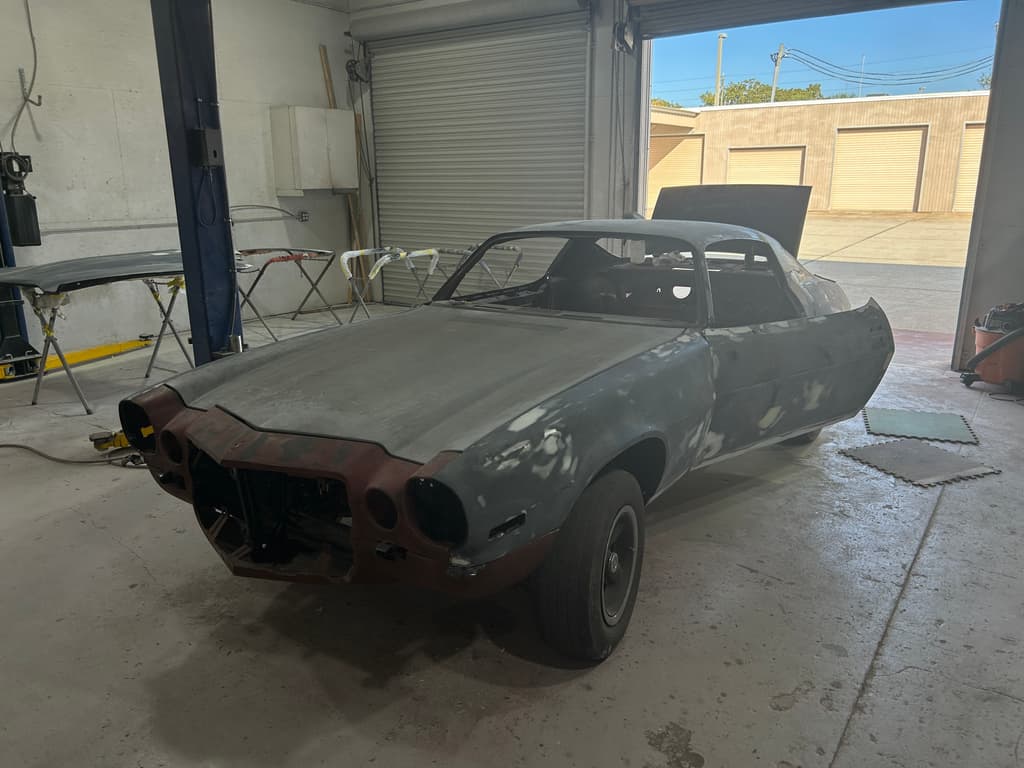
FIG. 11Grey high-build primer during block sanding -
Step 5
Engine and differential
I helped rebuild the engine and the differential. As with the body, every part was rebuilt rather than replaced, down to the bolts. The car is running.
-
Step 6
Final paint
The final colour is Hunter Green in a base coat and clear coat system. The base coat carries the colour, and the clear coat over it gives the gloss and protects it.


04
Result
The car is running and the body is in primer. The final Hunter Green paint is the next stage.
05
What I would do differently
I would bring the car to Newfoundland. Because it lives in Florida, I can only work on it during trips there. Having it close to home would let me work on it far more often.